
This page describes how to get started using LensForge. For other tutorials see the tutorials index.
Open LensForge
The best place to get started is with the test file kidger-triplet that is distributed along with LensForge. When you open this file in the finder, the LensForge application should be started automatically and you will be presented with an alert letting you know that the file is being opened in demo mode:
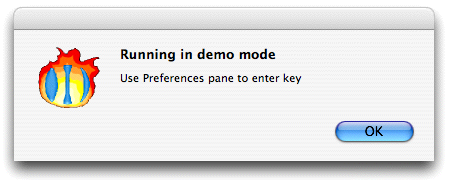
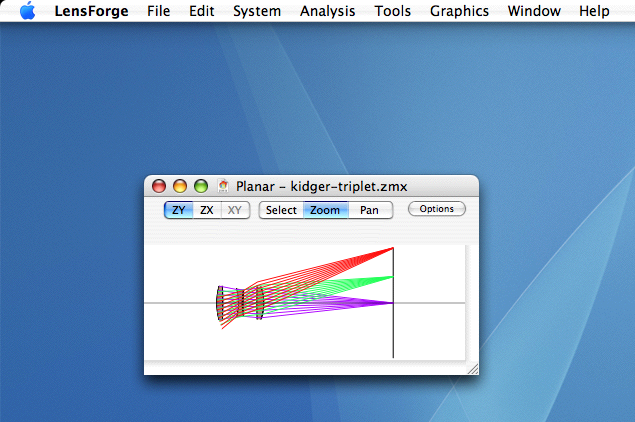
Pressing OK, the program will proceed to give you a Planar view for the lens.
Check that you get this:
If you do not obtain this result, please contact us and let us know how it went wrong. It would help if we knew something about your computer, so tell us what kind of CPU you have and what version of Mac OS X you are running.
A brief tour
The LensForge menu bar at the top of the screen gives access to all functionality of the program.

This is a good place to describe the functions of the various menus. Some of them are, of course, familiar to any Mac user:
LensForge menu
Information about LensForge, preferences, as well as the usual application hiding actions.
File menu
Interactions with files. Opening, saving, etc.
Edit menu
Interactions with text and with the clipboard. Cutting, pasting, etc. Also Undo and Redo.
System menu
Brings up editors to let you change the specification of the lens system: pupil, field, wave, surfaces, etc. (We will explain these things in later tutorials).
Analysis menu
Brings up windows to let you look at how the system looks, and how it performs.
Tools menu
The glass library, optimization module, and other goodies.
Graphics menu
Things like "zoom to fit" command.
Window menu
Lets you bring windows to the fore. The color picker lives here.
Help menu
Online help for LensForge. Nonexistent for version 1.0.